Fusion 360 Plasma - Adding spot marking
So after creating a DDDCSV plasma post processor for Fusion360, I’ve been dialling in the plasma post processor getting it to work on my plasma table and I’ve ended up adding a few features / functions that I thought will be useful or that have turned out to be necessary on my machine.
I’m using a bargain basement Cut50 plasma machine, which leaves a lot to be desired as far as performance is concerned, It does however work and produce reasonable cuts, so I guess I should not be too hard on it especially when I consider how much it cost. One issue I did have with the machine is that the arc start stopped working. After countless hours trying to resolve the problem, following all of the usual suggestions relating to setting the contact gap on the HF start, making sure that the air was dry, the torch was not shorting and the consumables new, I just could not get the arc start to work. The torch works fine if you hold it to the workpiece, it just doesn’t create the arc properly.
So I decided to create a scratch start option which essentially turns the torch on immediately after the search whilst the torch is still in contact with the workpiece. It then rises to the pierce height and continues on as normal. This has solved the arc start issue and also provided an option for those people running a scratch start plasma unit.
Spot Marking
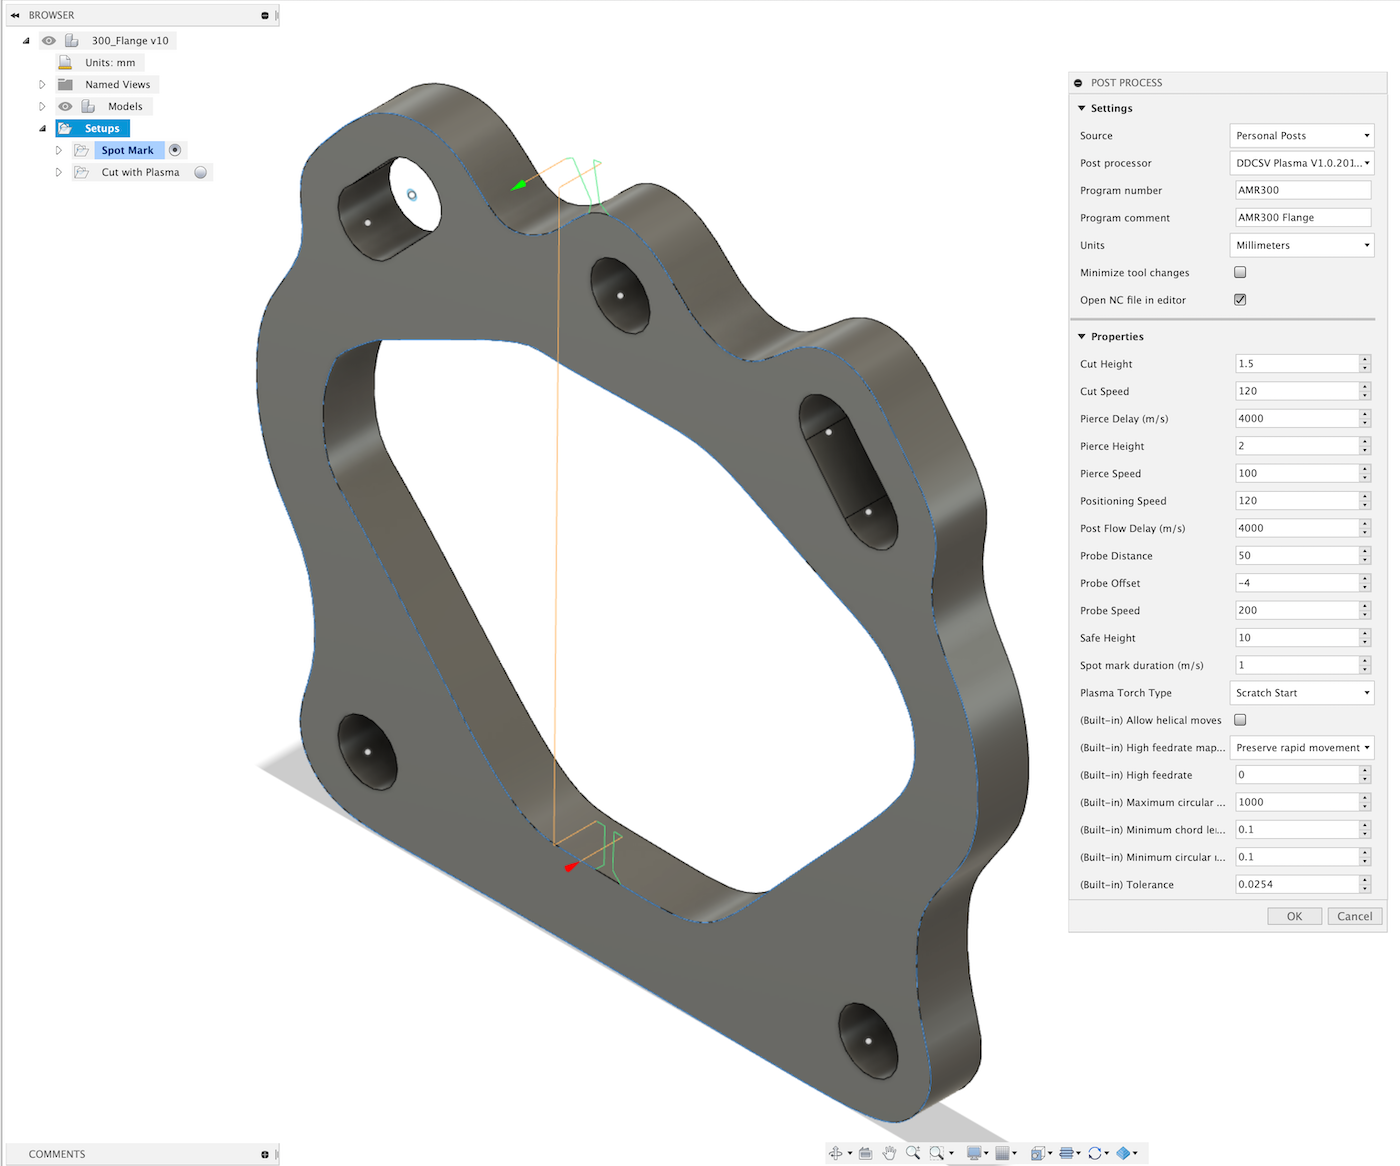
The other thing that I decided to do was create a ‘Spot Marking’ function to mark the locations of small holes so that I can drill them later. Plasma tables don’t really like small holes, especially rickety home made tables using cheap plasma units, so what I used to do previously on sheetcam was create a small ‘punch’ mark on the workpiece by running the torch for a fraction of a second. I then used this as the location to drill later on on my drill press. This was an easy thing to do on sheetcam as it had a function for this, so I needed to figure out how to achieve the same thing on Fusion360.
On Fusion360 the suggested method seems to be to use a drilling operation but I found that it would not let me do a drilling operation on a plasma process, instead it kept throwing up an error - “The chosen operation is not compatible with the current setup.”. So this sent me into a loop of testing and trying until I found a solution.
The solution is actually pretty simple but does require a bit of a hack to turn the virtual drill-press into a plasma drilling machine. The first step is to create a drilling operation using a generic 3 axis machine. it is important here to make sure that you specify the same WCS as you use for your plasma cutting operation, I always use the bottom left of the stock - which is the same as my table and you should always fork from the top of the stock as zero. You can choose any drilling tool, it is unimportant what the diameter and length of the tool is as we will completely ignore those parameters. We are only interested in the hole center locations
Once you have created your drilling operation, select all of the holes and generate the tool path. You can then run a simulation and watch the nice animation of the virtual drill, drilling virtual holes. Whilst this is cool, it’s completely superfluous to what we are doing. What we need to do to get the drilling operation carried out by the plasma is to change tool type from ‘drilling’ to ‘cutting’, this ensures that the plasma post processor will get correctly called, otherwise the post processor will not run and you will end up with an error and a blank Gcode file.
Error: Multiple machine configurations are defined in the toolpath and only one is allowed for the post configuration.
There is one caveat to this method, you will not be able to edit the drilling operation as you will get an error saying that the chosen operation is not compatible with the current setup. If you need to make changes to the operation you will need to change it back to a milling operation.
This method does manage to keep the cutting and drilling operations basically as per the standard generic operations. This is important from a usability perspective.
Cut Feedrate
The other major change that I made to the post processor was the inclusion of cutting and positioning speeds. Unfortunately there is no (documented) way to access the inbuilt jet feedrates, so I decided to create feedrate overrides instead. This allows the user to set the feedrates in the post processor along with all of the other settings. No doubt there’s a more elegant way of achieving this, especially as the post processor has an extensive API, but there’s definitely a case of effort versus reward here and investing time into decyphering undocumented features is not helping me to make any parts on my plasma table.
The updated post processor file is available on github - https://github.com/DeeEmm/DDCSV11-Plasma
I’ve also created a walk-through video which covers how to install the post processor, how to create a simple model in Fusion360 and how to create CAM toolpaths and export them to Gcode using the manufacture workspace and the DDCSV-Plasma post processor. It also outlines the use of the Spot Marking feature.