Installing FlatCAM on OSX Big Sur
One thing that I wanted to be able to do on the Mill One was to make some prototype PCBs. Generally I use JLCPCB but there are occasions that I just need a quick and simple solution to make a PCB that did not involve waiting.
Making a PCB by milling or isolation milling as it is commonly referred to is not without its challenges. PCBs need to be completely flat, tooling needs to be correct and the design is generally limited to through hole layouts due to the cutter size being larger than many SMD pad pitches. The other challenge is finding a workflow that works for me.
As I use EasyEDA for my PCB design it naturally made sense to try and retain it for designing PCBs that I wanted to mill. I did take a quick look at Eagle within Fusion360, but I found the component library to be completely lacking and I did not want to have to waste a bunch of time creating components when all I really wanted was a quick and easy solution to be able to create PCBs without a lot of fuss. This is one area that EasyEDA really shines. Not only is the official component library pretty good, but the community contributions are excellent. Components you create are available to others to use and vice-versa, which means that it is rare you cannot find something that works. It’s a bit of a shame that Fusion360 is not more accessible as the CAD to CAM functionality is pretty good.

EasyEDA can spit out Gerber files along with drill files, so it made sense to use a Gerber to Gcode converter to generate milling paths for the Mill One. There’s a few options out there but the most appealing one was FlatCam. Not only did it have a more polished interface than the others, but also had support for OSX, or at least that’s how it appeared.
There’s some instructions for installing FlatCAM on OSX on the FlatCAM website, but those are woefully out of date and did not work On Big Sur. FlatCam uses Python 2, which reached its end of life way back in January of last year. Got to love software that uses out of date libraries, it’s just an issue waiting to happen. Searching around on bitbucket there were a number of threads about updating the codebase to use Python 3 and PyQt4 but this dwindled into fighting between two community developers who both were working on their own updates instead of working together to build a community solution. Great. Just what you need. Software prima-donnas. The worst kind. The net result of this was that the original developer just ignored these contributions altogether and so here we are two years down the track with no official support for anything other than Python 2. It really makes me wonder why people bother using QT to develop with if they completely ignore its cross platform abilities. I mean, lets face it, QT is a pretty shitty development platform and cross platform compiling is it’s ONLY redeeming feature.
After a while I stumbled across this post by Miguel Sánchez Villafán who had trodden a similar path getting FlatCam to work under Mojave. Miguel had discovered much as I had that installing FlatCAM under homebrew as outlined on the FlatCAM website did not work due to the dependency on Python 2. He also used a beta version of FlatCAM that has Python 3 / PyQT4 support. He also installed it under a development environment so that it used the correct Python version. He event went on to create an apple script and convert it to an app so that it could be run the same way as a regular application and added to the launch bar. Good Work Miguel.
There were a couple of small issues that I had to overcome getting this to work on my machine which I will document below
Lets get started
I’ll walk you through the process step-by-step. It’s essentially the same process that Miguel outlines but there’s a few errors that I had to deal with along the way…
- Create a directory (Lets call it FlatCAM :D )
- Open a terminal session at this location
- Using WGET copy the development code from the remote host. The latest version is different to that listed in Miguels article. You can see the current version by visiting https://bitbucket.org/jpcgt/flatcam/downloads/.
- You may also find like me that you cannot use the WGET command (It’s a linux package) but you can easily install it under homebrew by using the following command
brew install wget
- The package I used was as follows…
wget https://bitbucket.org/jpcgt/flatcam/downloads/FlatCAM_beta_8.994_sources.zip
- Next up unzip the package
unzip FlatCAM_beta_8.994_sources
- and change to the resulting directory
cd FlatCAM_beta_8.994_sources
-
Now you are ready to proceed with Miguels instructions…
-
Create a Python virtual environment
virtualenv env
- Activate the virtual environment
source env/bin/activate
- Install all Python dependencies in the virtual environment
pip3 install numpy matplotlib rtree scipy shapely simplejson lxml rasterio ezdxf svg.path freetype-py fontTools ortools vispy PyOpenGL PyQT5
-
Get out of the virtual environment
deactivate
At this stage you can try to run the application by launching it under python
python3 flatcam.py
What I found was that there were a number of dependencies that were not met despite being installed above. These will show themselves as an error…
ModuleNotFoundError: No module named 'reportlab'
The simple solution is to force a reinstallation of the dependencies
pip install --upgrade --force-reinstall reportlab
Then try running FlatCAM again
python3 flatcam.py
Again I found that it failed with an error. I just force re-installed the next dependency and kept doing this until there were no more dependency errors. Here’s a list of the dependencies that it threw up on my machine
- reportlab
- QtWidgets
- pillow
- svglib
- vispy
- OpenGL
- Networkx
- ezdxf
- fontTools
- ortools
- serial
- network
- qrcode
- dill
I’m not 100% sure why I had the issues with the dependencies, it could be that installing them within the environment as Miguel had done did not work for my specific install. In fact the prescribed way of installing the dependencies is to use the pre-made requirements file within the repository by issuing the following command
pip3 install -r requirements.txt
This might be a better option if you also find that you have dependency issues. Of course it was no big deal to work through them one by one as I did above but if I were to try this again I’d definitely give this a shot first. The other possibility is that as I was running the script outside of the environment they were simply not available. At any rate whichever it is, the end result works out okay…
With these dependencies installed the next error I came across was this…
- ModuleNotFoundError: No module named ‘ezdxf.math.vector’
This was not a dependency issue but actually an error in the code. The fix was documented on the BitBucket repo and involved making a small mod to appParsers/ParseDXF.py and changing the python import statement from
from ezdxf.math.vector import Vector as ezdxf_vector
to
from ezdxf.math._vector import Vector as ezdxf_vector
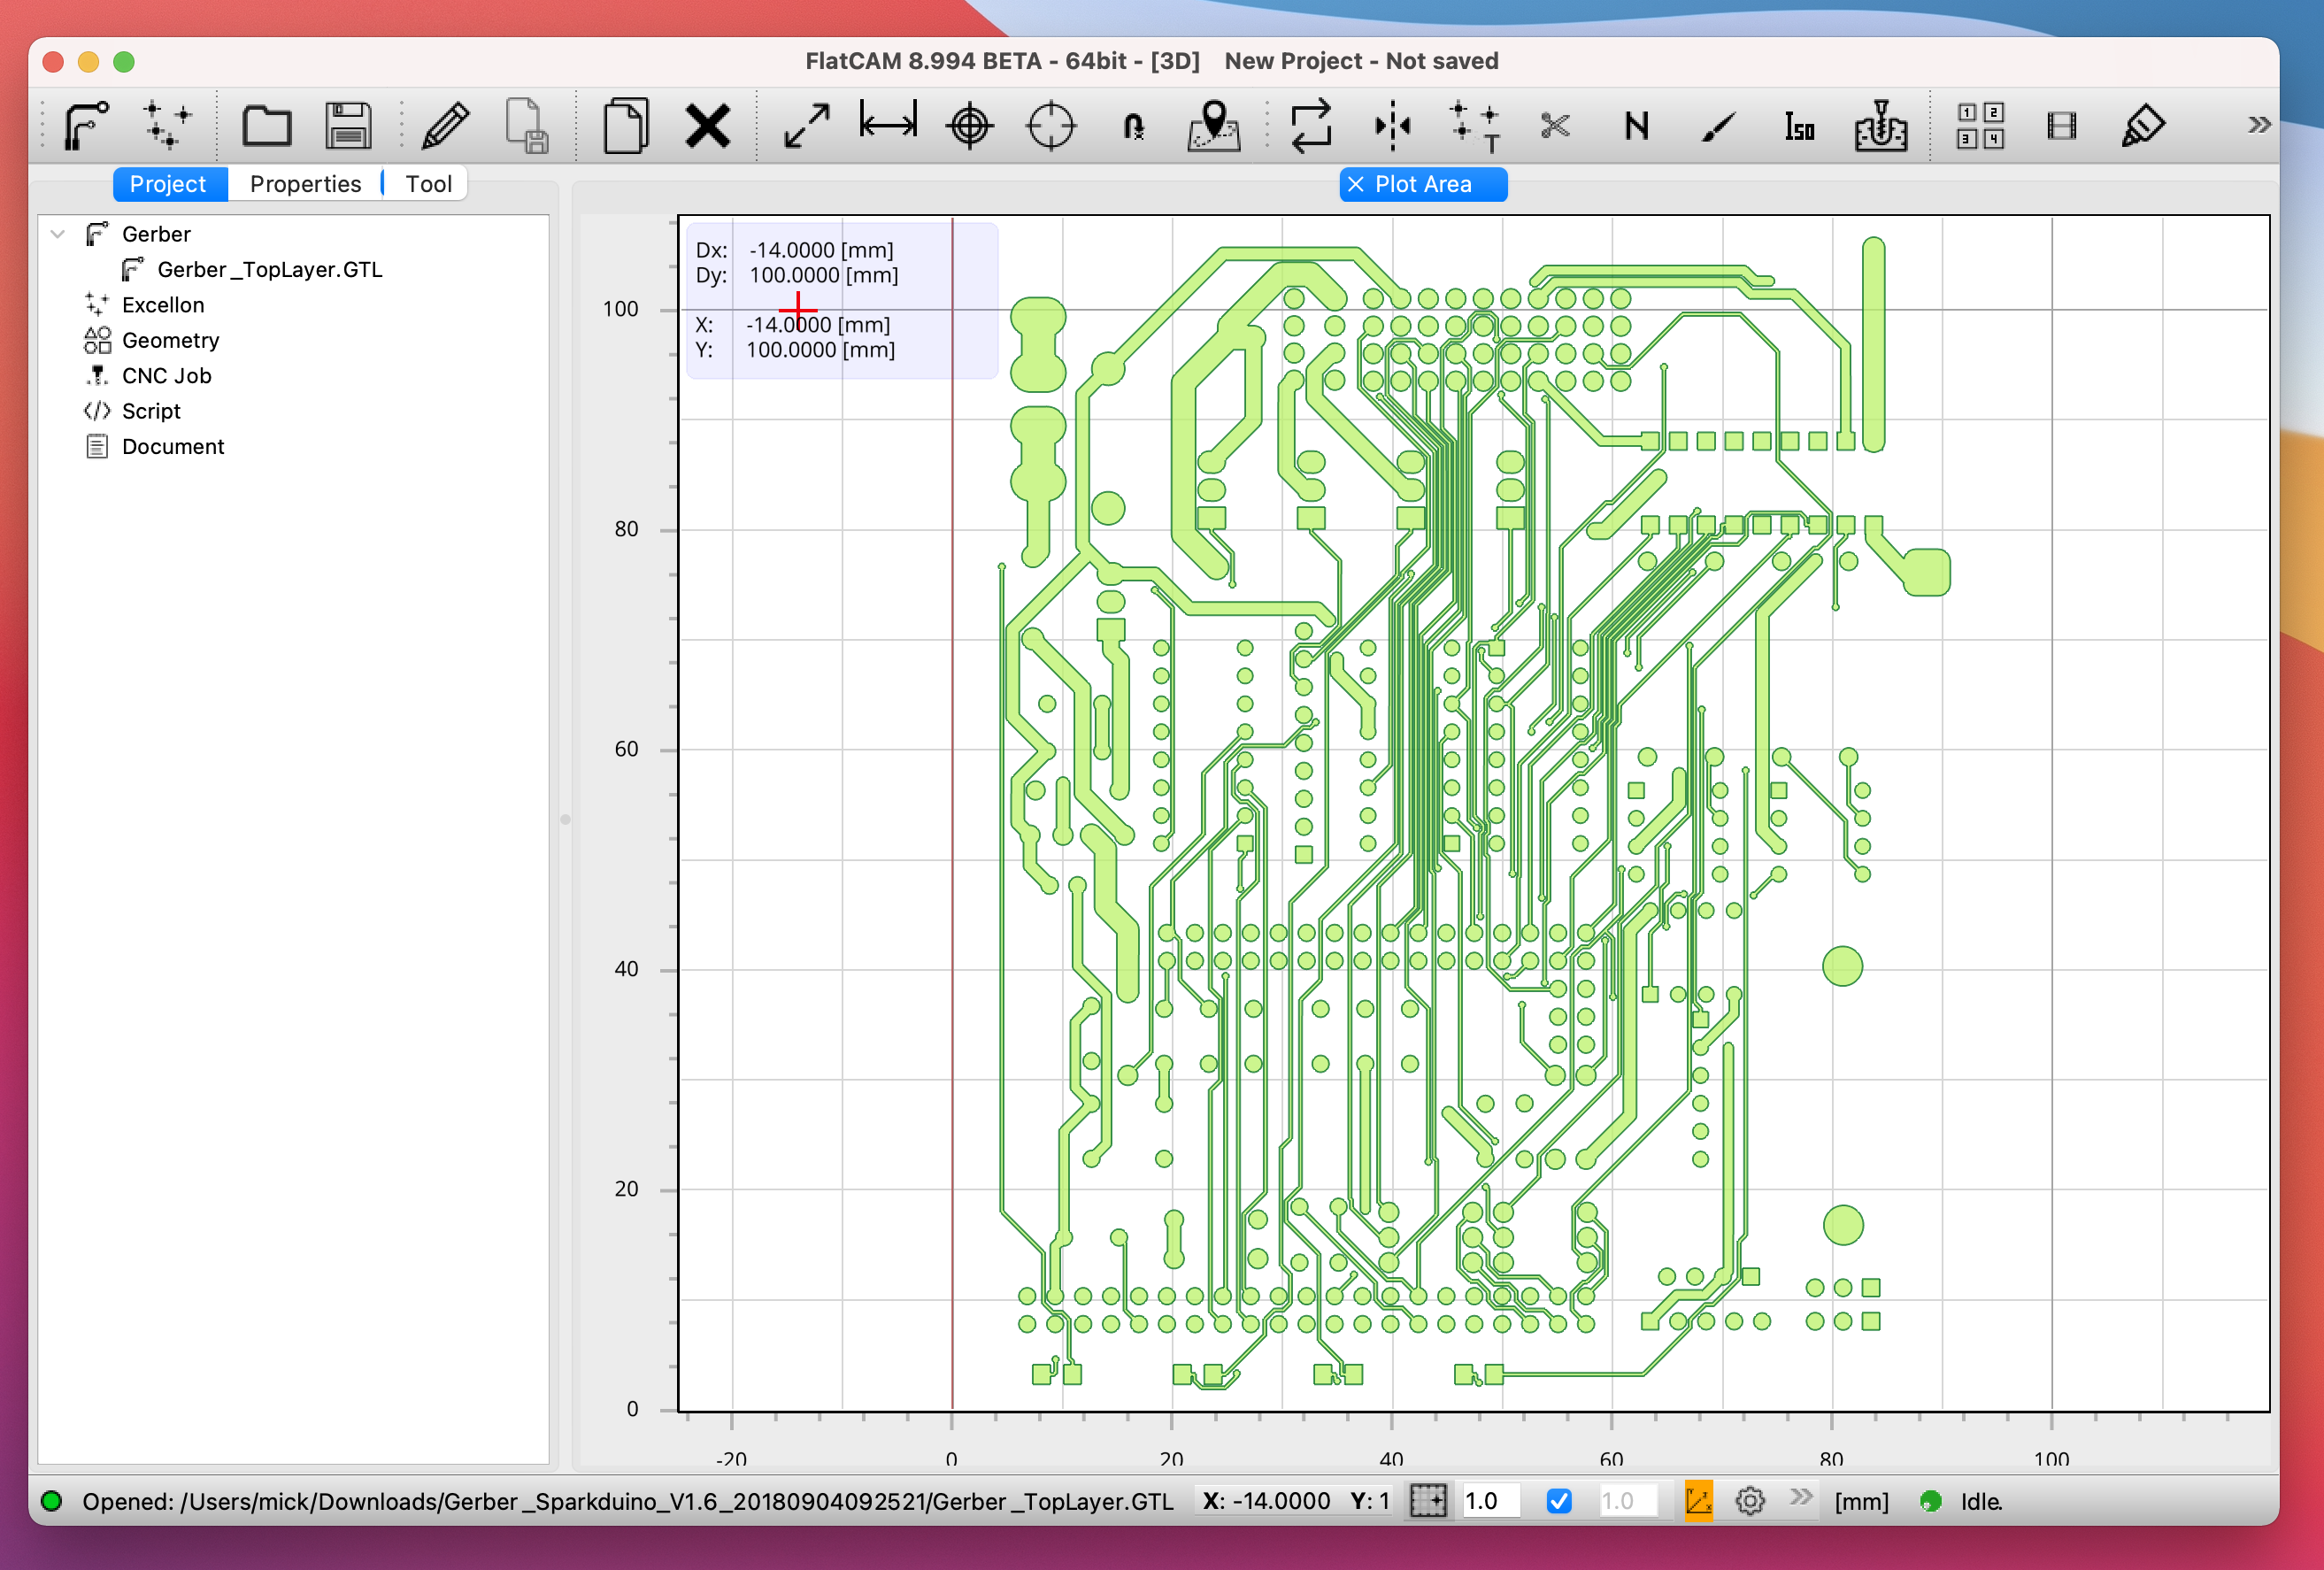
With these issues resolved I was able to launch FlatCAM.
Creating an App
With the program working the next thing that you can do is to use Miguels instructions for creating an apple script and converting it to an application. This is a simple two step process.
First off let’s create a script to execute FlatCAM. Paste the following into your terminal (all the way to the EOF) and then hit enter. It will create a new file in the directory called FLatCAM
# Create a script to execute FlatCAM
cat <<'EOF' > FlatCAM
#!/bin/bash

# Make sure the Homebrew executable paths are in the PATH env variable
export PATH='/usr/local/bin:/usr/local/sbin:'"$PATH"

# Find the script's real path
script_directory="$( cd "$( dirname "${BASH_SOURCE[0]}" )" && pwd )"
if real_script_path="$( readlink "$script_directory/$( basename "$0" )" )"
then
	real_script_directory="$( dirname "$real_script_path" )"
else
	# shellcheck disable=SC2034
	real_script_directory="$script_directory"
fi

exit_code=0

# Enable FlatCAM's virtual env
source "$script_directory"'/env/bin/activate'
# Execute FlatCAM, log the output to FlatCAM.log
python3 "$script_directory"'/FlatCAM.py' &> "$script_directory"'/FlatCAM.log'
# Capture the exit code
exit_code="$?"
# Disable the virtual env
deactivate
# Exit the script with the exit code returned by FlatCAM
exit "$exit_code"

EOF
Next we create and apple script to execute the file
# Create an AppleScript to execute the script we just created
cat <<'EOF' > FlatCAM.scpt
	set script_path to POSIX path of ((path to me as text) & "::") & "FlatCAM"
	do shell script script_path
EOF
And finally compile the AppleScript into an application
osacompile -o FlatCAM.app FlatCAM.scpt
Before we can use the application we need to make sure that our script is executable which means CHMOD’ing the file permissions and setting the execute bit.
chmod 555 FlatCAM
Now when you click on the application it will open FlatCAM. YAY!
If you want you can copy the entire folder into your applications folder. I also updated the application icon. To do this download a suitable icon and use an online converter to convert the file into the correct icns format. You can then right click the application and view the ‘Get Info’ dialog. Simply drag the new icon.icns file onto the existing icon at the top left of the dialog. (here’s the icon I used)
![]()
WOOT!
Now you have a fully operational FlatCAM installation working under BigSur.
A big thanks to Miguel for documenting his findings. And a big thanks to the FlatCAM devs for creating the application.
Now to make some PCBs