Un-bricking a Sonoff S20
A while ago I invested in a bunch of home automation stuff to augment my Google home. I opted on the Sonoff devices as they are by far the best value and also come with Aussie compatible plugs and sockets. Unfortunately one of the units was DOA.
In a bid to try and resuscitate the device I decided to have a go at re-flashing the firmware with the updated Tasmota firmware. The Tasmota firmware is a third party developed firmware that adds a bunch of features to Sonoff devices, including removing some communications limitations. This last feature is one that I'm particularly interested in installing into some other 4.22mhz transmitters so that they become more usable (communications are very limited in the Ewelink app), so this initial experiment to see if the firmware upgrade works is a bit of a test. If all goes well I'll look to update my other Sonoff devices.
So the pathway to getting new firmware onto a Sonoff device basically involves using a C/C++ editor / compiler (I'm using an open source Arduino style IDE called Atom (you can actually use the Arduino editor if you install the relevant libraries), The platformIO Framework, a USB to serial adaptor, some flying leads and the Tasmota code.
- Installing Atom is pretty straightforwards - download it from https://atom.io and drag it into your applications folder (or jump through the usual hoops if you use windoze) You'll want to include the platformIO IDE extension - available from - http://platformio.org/platformio-ide (It's also available a pre-packaged install). PlatformIO is an IDE developed specifically for IOT devices and so includes integrated support for a wide array of embedded controllers.
- Connecting to the device is pretty straightforwards with just Ground, VCC, TX and RX connections. The actual connection points differ from device to device but pin-outs are listed on the Tasmota WIKI - https://github.com/arendst/Sonoff-Tasmota/wiki
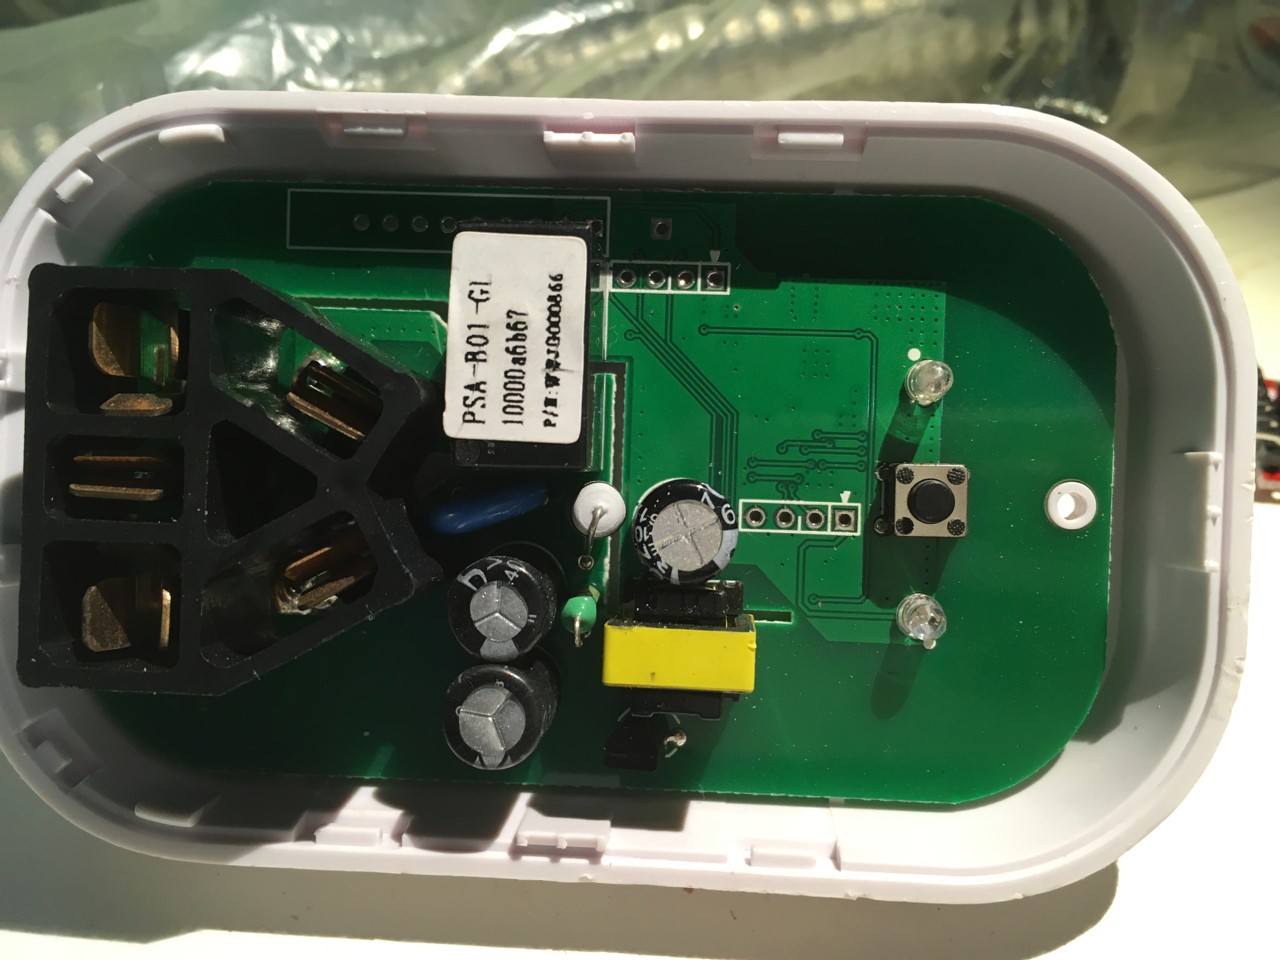
My device was the S20 switch, the pins are (from left to right in photo below) GND TX RX VCC
And so I connected them up accordingly to the USB serial dongle using some jumper connections and a breadboard (as shown in the main photo).

Next up is to open the Tasmota code in the IDE. There are a few settings in platformio.ini and user_config.h that you will need to set - namely your WIFI access details and device specific details. Once these are set you can get ready to upload.
To be able to upload to the device you need to put it into bootloader mode - this involved holding the device button in for a few seconds whilst plugging in the USB cable to the USB-Serial converter. You won't see any flashing lights or indication that you are in bootloader mode so you'll just have to proceed to the next step and see if the file can be uploaded. To do this simply select 'Upload' from the platformIO menu. There's no need to select any ports as it will auto detect the correct USB port (or at least it did on mine).
Assuming everything is okay you will see the transmit and receive LEDs on the USB-Serial adaptor flashing away as it transfer the data. You will also see a progress bar appear in the IDE to let you know how far along in the process you are.
You will also get a 'Success' message when it is complete. You can now access your device directly via it's I address and monitor / edit settings via the web browser.
Cool huh!!
So having undertaken this on my bricked device I very easily managed to get it to live again which was an obvious win. However, when I tried to pair it to the Ewelink software I found that the device was no longer recognised. After a bit of digging and sleuth work I found out that the Tasmota software is not compatible with Ewelink. In fact it's not really compatible with any of the proprietary home automation servers. There is an emulator function for Belkin WeMo devices but I was unable to get this to work. (I have a couple of Wemo devices.) I could not get it to connect to either the wireless network or the Wemo hub. In essence my premature win has pretty much turned out to be the opposite.
Fortunately the vendor is sending me out a replacement S20 unit which means that ultimately this is a non-issue but it would have been nice to get the unit up and working as I'm sure I would have used it somewhere.
Re-flashing with standard firmware is not possible simply as the original firmware is not available, which leaves using a third party solution for the unit to talk to. This does have some advantages - For example using something like OpenHab is great as it allows for extensive customisation of rules but at this stage I need to do a fair bit more homework before deciding if this is the path that I want to take as I would hate to re-flash all of my devices only to have compatibility issues down the track. So far my (New) home automation experience has been pretty good with all devices being connected to Google Home (and also IFTTT) with no dramas whatsoever. There is a small amount of automation programmed into the system and it works great, especially with the voice activation funtionality.
So before you jump into re-flashing your devices, be sure that you are aware of the limitations.
/DM