Aquarium Automation with Reef-Pi
I'm setting up a reef-pi controller on my tank. Reef-Pi is a DIY Raspberry-Pi based aquarium controller. I had considered making a simple controller using an Arduino, but when i was searching online I found the Reef-Pi project and decided it was perfect for my needs and would save a bunch of work and time. Win-Win!
The main reason I was considering some kind of tank controller was just to control my lights with the eventual goal of building some DIY LED Lights. I also quite like the idea of switching all of my pumps to DC pumps powered by a solar charged battery bank to help save on electricity costs and overcome power outages, so moving to a centralised controller would make this possible. I'm not 100% sure if reef-pi will be able to control the main pump in this manner but it's something that can be looked into down the track, it certainly has the capability to control DC pumps and so looks like it will be able to do the job.
For the time being I'll concentrate on getting the pi set up with some simple on / off relay control and dimming control for the existing LED lighting and control of the tanks heaters. There is also the possibility to integrate things like Auto Top Up, doser control, PH monitoring, feeder control, etc. In fact there is a pretty flexible macro system that means it can potentially control many different things.
So I decided to invest some time into putting a Reef-Pi system together with the end goal of complete tank control, whatever that looks like.

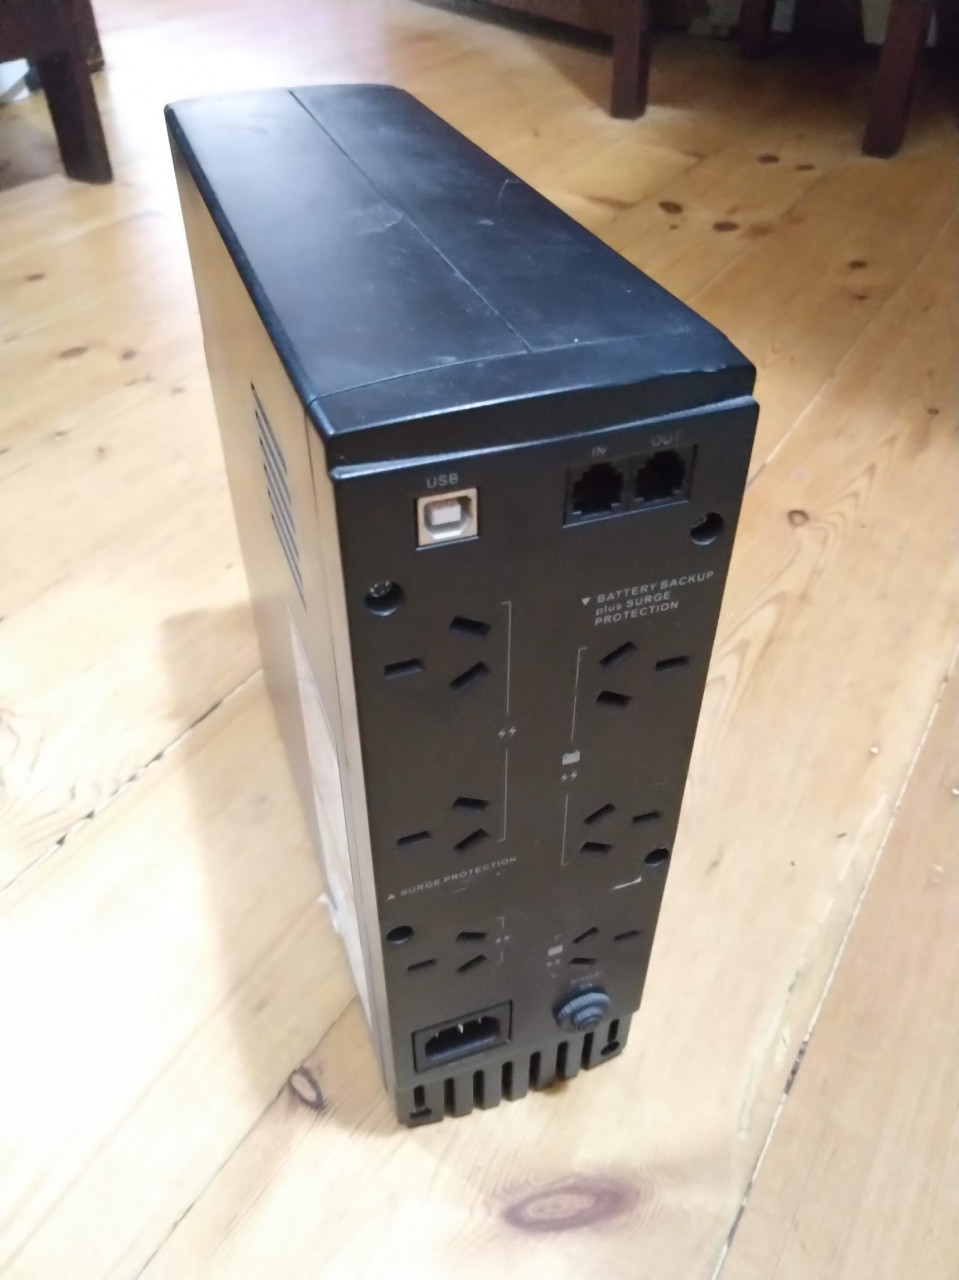
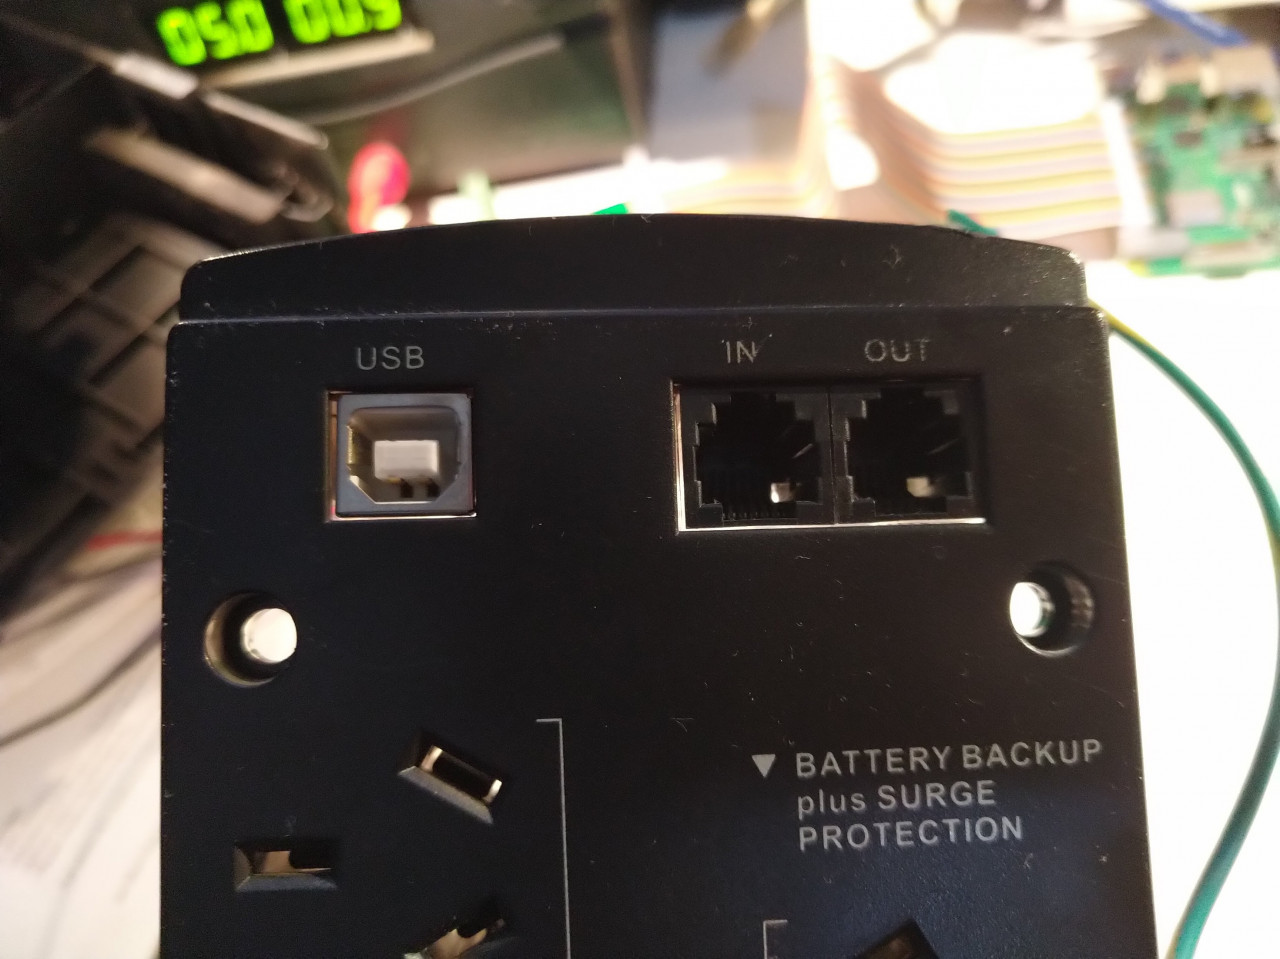
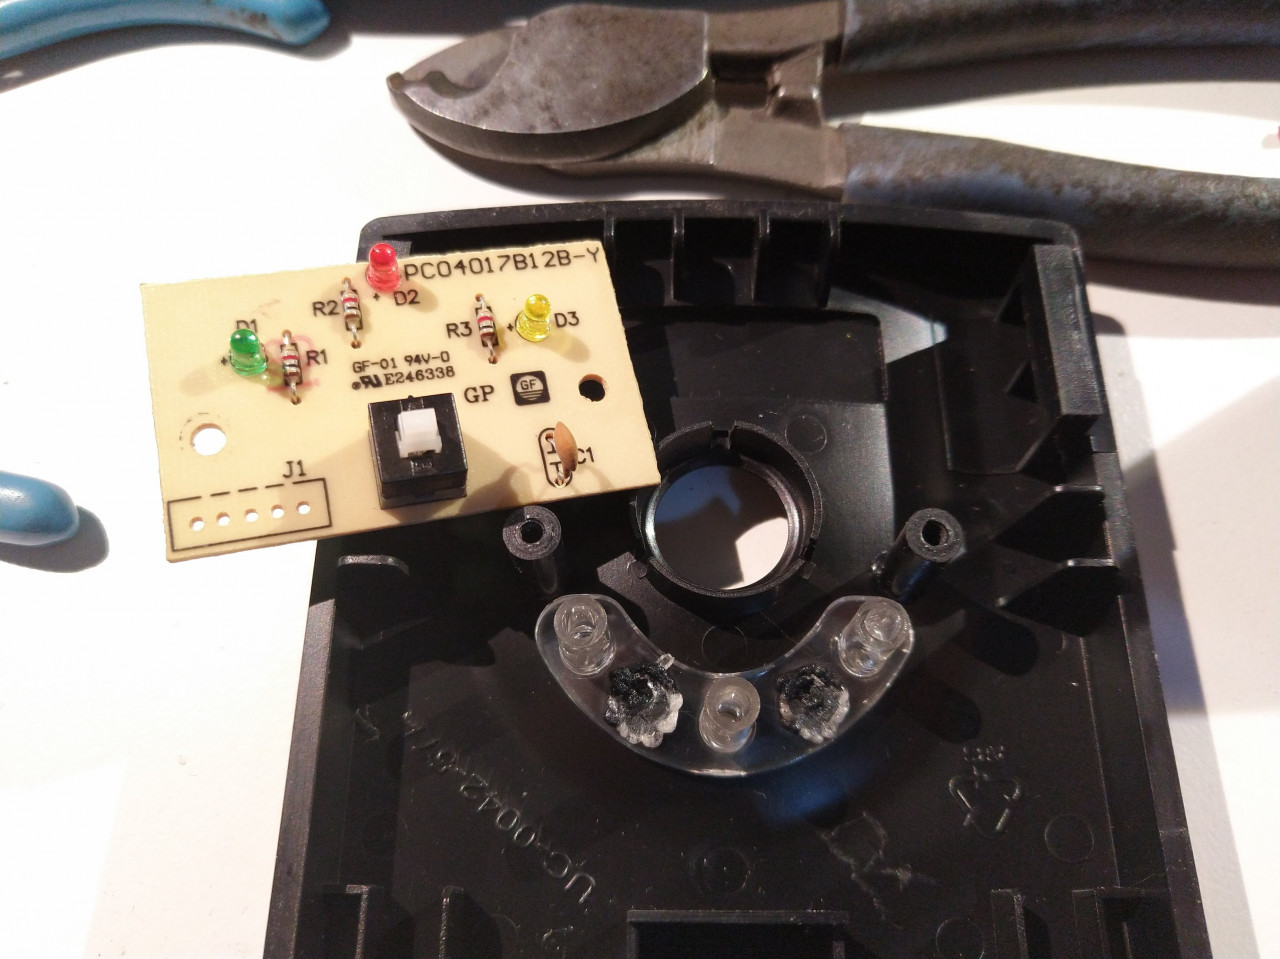
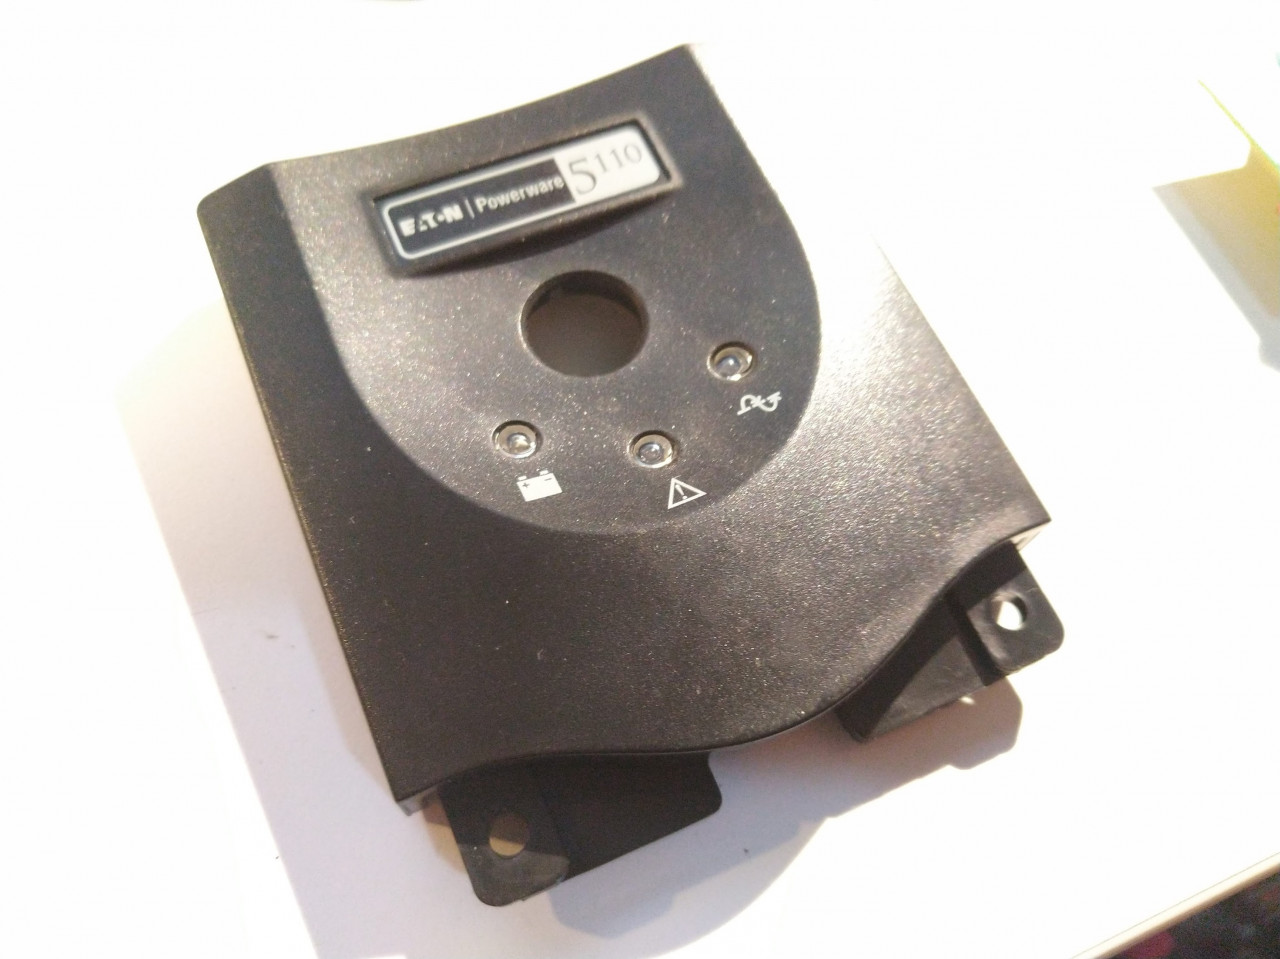
For the case I'm going to repurpose this UPS supply. It's one that I had running my tank for a while but is now surplus to requirements. it has 6 outlets on the back which i will convert to switched outlets controlled by the pi. for this I have purchased a generic relay board which I will switch by a darlington array controlled by GPIO. It also has two RG45 connectors which I will look at using for external sensor connection. They are probably not the most robust connector for this purpose but as they are there , I'll repurpose them (EDIT: looks like the apex uses the same connectors). It also has some status LEDs and an on / off button that I will utilise for something (feeding mode maybe). The switch is a SPST latching style but I might take a look at it and see if I cannot make it a momentary style as I can then use the switch to perform a variety of tasks depending on how it is used (short press / long press / multiple presses). When you consider that people used to communicate and talk to each other with just a single switch (morse code) then the possibilities are almost endless :D

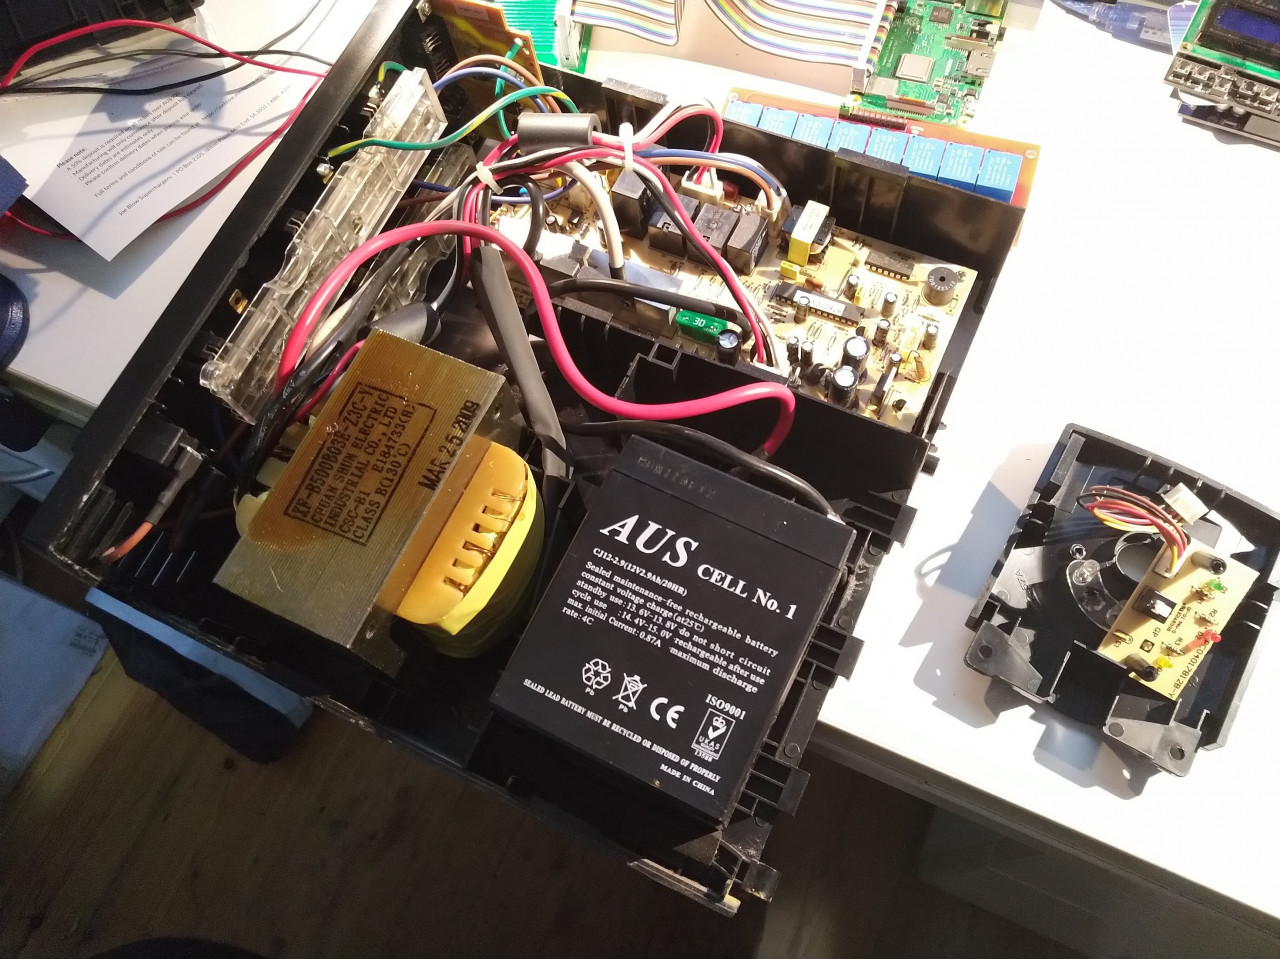
Power requirements are most probably going to come from an ATX supply simply as it has a range of voltages all in one package that will supply 5v for the controller, 12v for things like the relays. lighting and dosing pumps. I have measured the three voids left in the case after the removal of the old electronics and will find a suitable PSU.
Dosing pumps, almost forgot about those. I already use a reef magic to dose 2 part and carbon and would really like another channel to be able to dose LaCl as I'm using this to overcome a decade old Phoshpate issue (yes my tank is OLD). I do have another reef magic, but with everything crammed into the cabinet there's not much room. So building this reef pi setup will also allow me to condense some of the systems into smaller more compact forms and free up some room. So the ultimate plan is to also include 4 or 5 dosing heads. I've seen some of the installations using standard DC powered dosing heads like the kind used in the reef magic and they are pretty neat as the actual pump motors are very small.
I don't do water changes on my tank, so nutrient control is fairly high on the importance charts. It also means that there is no need for an auto water change setup, however I might implement an auto top up system (I have a semi auto setup at the moment). I did have a very basic auto top up system set up with a solenoid and a timer, it would be trivial to set this up again.
PH and Temp control are obvious inclusions, and additional parameter testing would also be desirable, although I'm not sure how feasible some of those are.


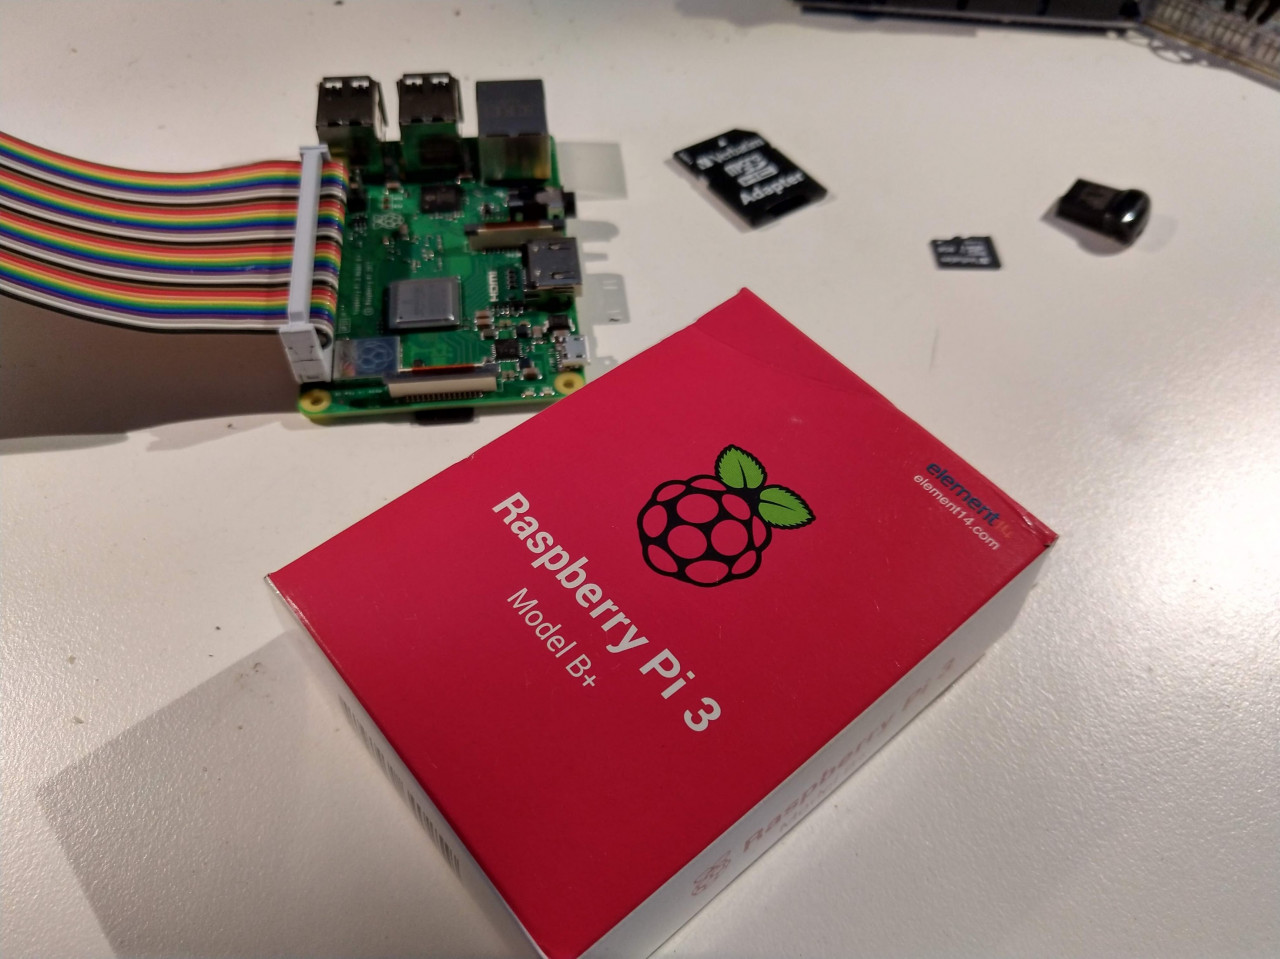

So far I've loaded up the Reef-Pi image and set it up to run wirelessly. I connected it up to a GPIO breakout board that I had, which whilst cool is a little too large as it takes up lots of real-estate in the case. I do have another smaller breakout board with screw terminals but might also look for something else. I'll do a bit of a search for something more suitable when I'm looking for a PSU. I haven't decided on a location for the PI yet. The front void in the case where the battery went has a removable front over and so this might be a good location should I need to easily get to it without completely dismantling the entire thing, But that's also one of the larger voids, which might mean that it's the only suitable location for a PSU, so I guess the next step is to track down a suitable PSU.
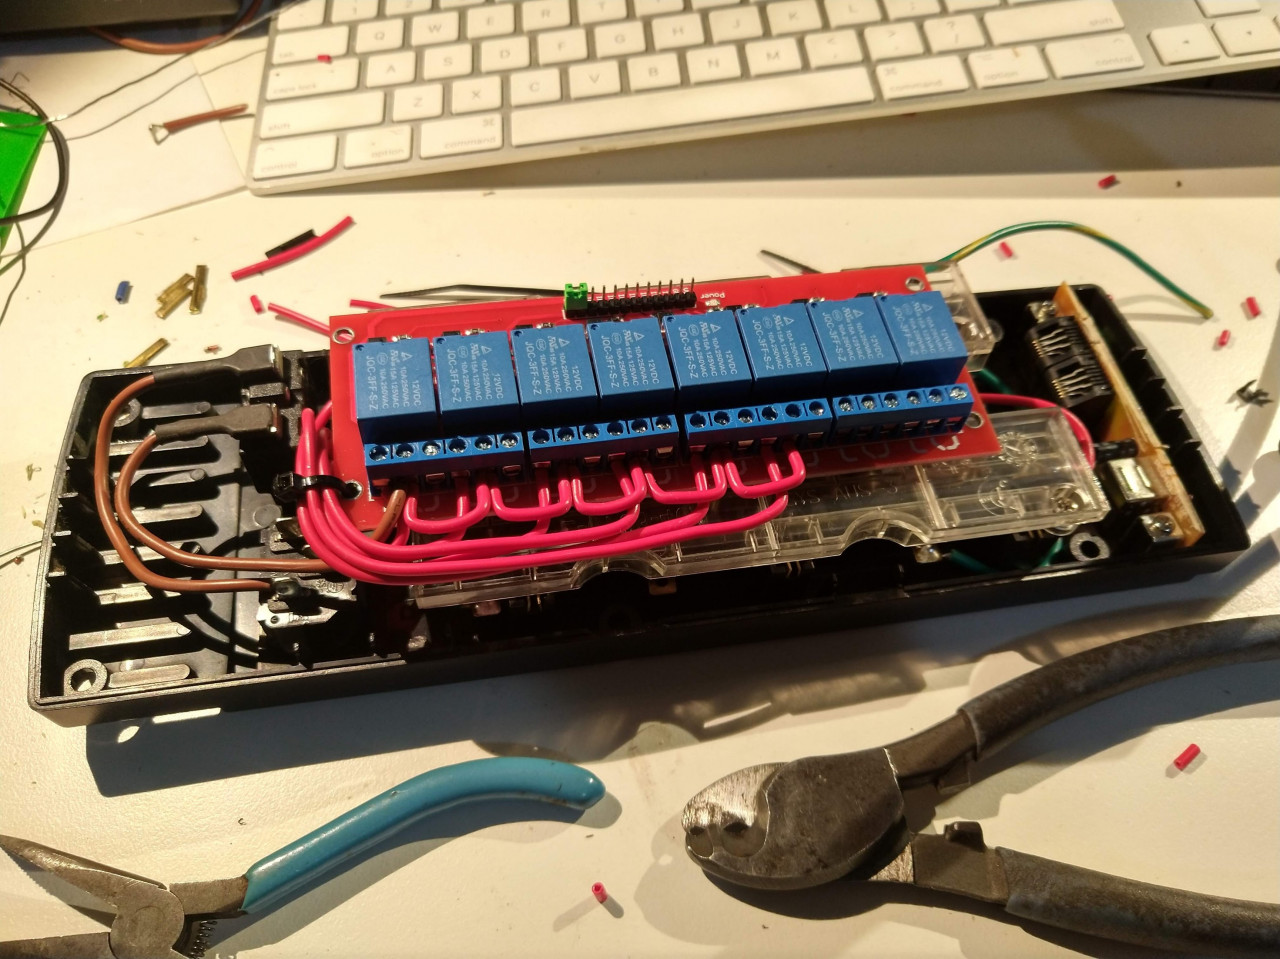
I did spend some time dismantling the rear socket outlets. These originally had bus-bars connecting each bank of three sockets together. I cut the bars to seperate the live feed to each socket and soldered new cables to each section. I then wired these leads to the 8 way relay board.
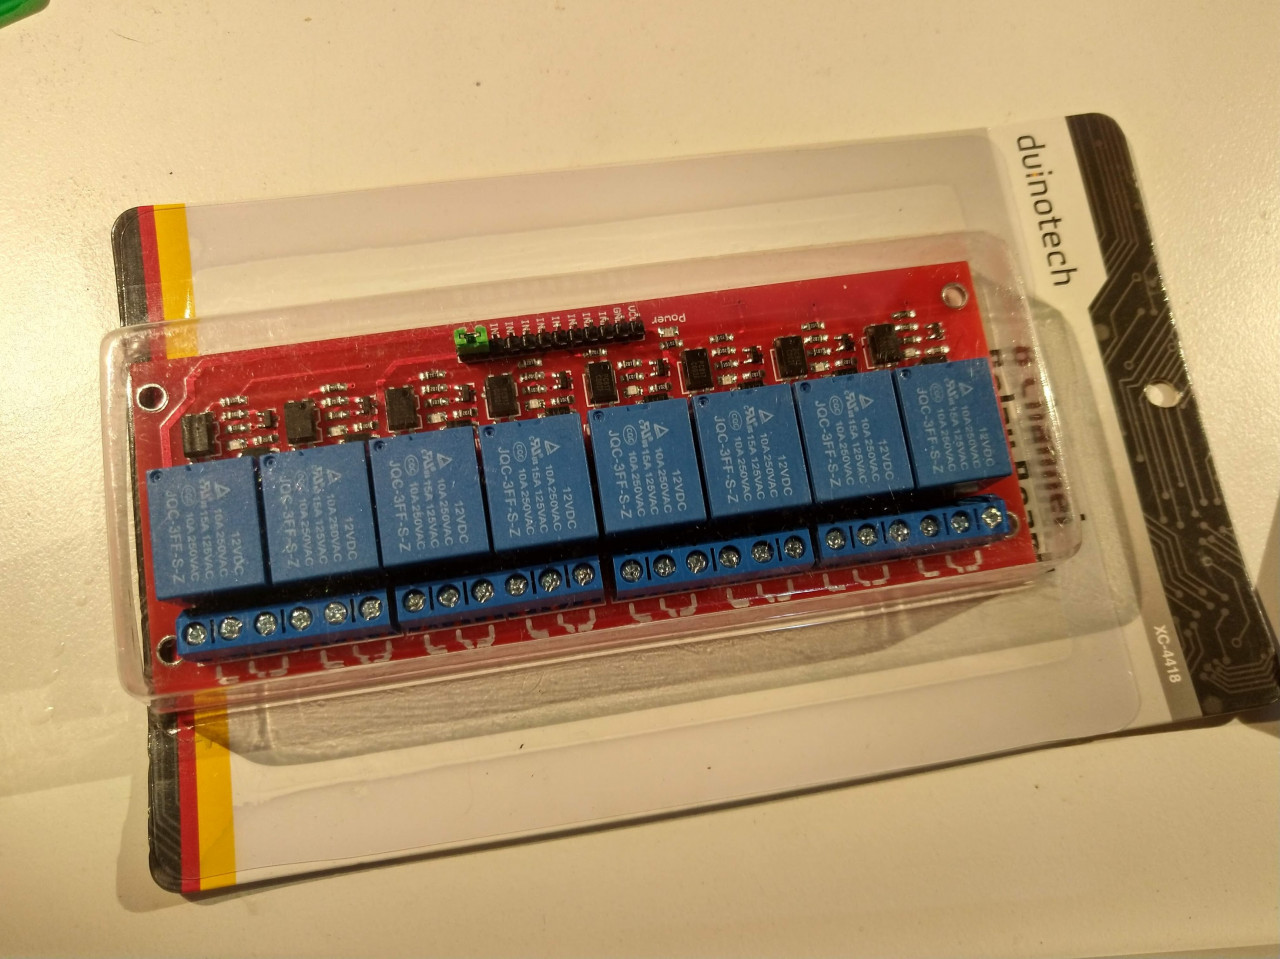
Just a quick note on those relay boards. These ones were bought from Jaycar (an Aussie tech / electronics store) and the only ones available are 12v. This poses a small problem as the RasPi is only 5v, so there's no way that it can directly switch this board. The solution however is simple. You can use a darlington array - basically a chip that contains a series of darlington pair diodes. This will allow you to switch the 12v signal required for the coils using the lower 5v output from the Raspi GPIO. Using the darlington array also proves a degree of separation between the inductive load of the coils and the RPi which is also a very good thing as the coil will create a very high voltage spike as the magnetic field in the coil collapses when the voltage is removed, although this particular relay board does have opto-isolators which provide a clean break to prevent this back EMF from reaching the RPi
I wired the sockets up to the relay board and next need to design and print up some 3D printed brackets to mount the board to the rear of the sockets. This nicely keeps the 240v at the back of the case, hopefully away from all of the other components.
Installing the Reef-Pi software
I'm going to outline the basic steps to install a headless installation (no desktop operating system) on your RPi. There's other better guides out there (there's links to the official guide at the bottom) this is simply for my own reference, but if it helps you then great. I'm installing from a Mac so it differs a little from a Windoze machine.
Essentially we'll load up the RPi operating system, connect to the RPi via a network connection and then complete the installation of the Reef-Pi application via remote terminal on the RPi itself.
Here, goes...
Download latest RPi image, I used the lite version (no desktop)
https://www.raspberrypi.org/downloads/raspberry-pi-os/
Transfer image to card using Etcher.
Then you will need to create files for SSH and WiFi. On a Mac you can do the following from the terminal. The SSH file is absolutely necessary, the wifi is optional if you access via ethernet cable
NOTE: You may need to remove and plug in the SD card again to be able to see it in Finder (etcher un-mounts (ejects) the card when it is finished)
Issue the following commands in terminal to create the empty files
touch /Volumes/boot/ssh
touch /Volumes/boot/wpa_supplicant.conf
Next edit the wps_supplicant.conf file and add the following contents, changing it to suit your network
country=US
ctrl_interface=DIR=/var/run/wpa_supplicant
GROUP=netdev
update_config=1
network={
ssid="NETWORK-NAME"
psk="NETWORK-PASSWORD"
}
Now you can plug the SD card into your RPi and turn it on. Next you can SSH into your RPi. You will need to find its IP address on your network. The simplest way to do this is to look at the network user list in the admin panel of your router.
In terminal on your mac use the following command to access the RPI via secure shell.
ssh pi@192.168.1.5
it will ask you for your password, the default password is raspberry
You will notice the command prompt change - you are now connected to your RPi
Next update and upgrade packages...
sudo apt-get update -y
Followed by...
sudo apt-get upgrade -y
...next edit the config file
/boot/config.txt
...and add the following to the end of the file
#Reef Pi Config
dtparam=i2c_arm=on
dtparam=spi=on
dtparam=audio=on
enable_uart=1
dtoverlay=w1-gpio
Now reboot by issuing the following command. This will enable all of the changes you have made
sudo reboot
Next install reef-pi itself, you will need to know the latest version, you can find this at - https://github.com/reef-pi/reef-pi/releases
Log back in to the RPi via SSH (using the command above or just hit the up key on your keyboard to access the command history) and enter the following command (substituting the path / version for the one found at https://github.com/reef-pi/reef-pi/releases)
wget -c https://github.com/reef-pi/reef-pi/releases/download/3.0/reef-pi-3.5-pi0.deb
then...
sudo dpkg -i reef-pi-3.5-pi0.deb
Now if you visit the IP address you found earlier in your browser by typing it into your address bar (for example http://192.168.1.5) you should see a login screen for your reef-pi. The default username and password are 'reef-pi'
Congrats. you now have a headless installation. You can now go on to set up other aspects like setting the default network name so that you can access your reef pi by its net name rather than IP address (which may change every time you cycle the power). You can set this and other system related aspects using the 'raspi-config' command from the command line when logged into your RPi.
There's some good resources available online for the set up and installation of reef-pi, I used the following when setting up my own Reef-pi, there's further info available there.
https://www.raspberrypi.org/documentation/configuration/wireless/headless.md
https://desertbot.io/blog/headless-raspberry-pi-3-bplus-ssh-wifi-setup
https://reef-pi.github.io/general-guides/install/
If you get stuck there's also the following...
https://reef-pi.github.io/additional-documentation/troubleshooting/
And a really awesome reef-pi thread over on reef2reef where you can also ask questions and get advice. The thread is really active and the devs really responsive which is perfect project support.
https://www.reef2reef.com/threads/reef-pi-an-opensource-reef-tank-controller-based-on-raspberry-pi.289256/
Reef-Pi is an awesome project and definitely worth looking into if you are considering buying or building some form of controller for your aquarium. I recommend it.